The Federated Experience Manager is no different. It allows marketers to take their extraneous, non-Sitecore, digital assets and connect them into Sitecore for reporting and personalization.
The way it works is simple:
- Create an FXM beacon in Sitecore that references your external asset (microsite, landing page, blog, etc.)
- Place that beacon on the page(s)of your external asset to establish two-way communication with Sitecore.
- Create a Sitecore Rule that permits the cross-browser scripting and you're done!
Essentially, once the beacon is placed on the page and communication is happening, you can track analytics, place Sitecore content, conduct A/B testing, and even implement personalization rules on the non-Sitecore site as though it were being managed within Sitecore!
"So how is it done", you ask? Great question, here are the steps:
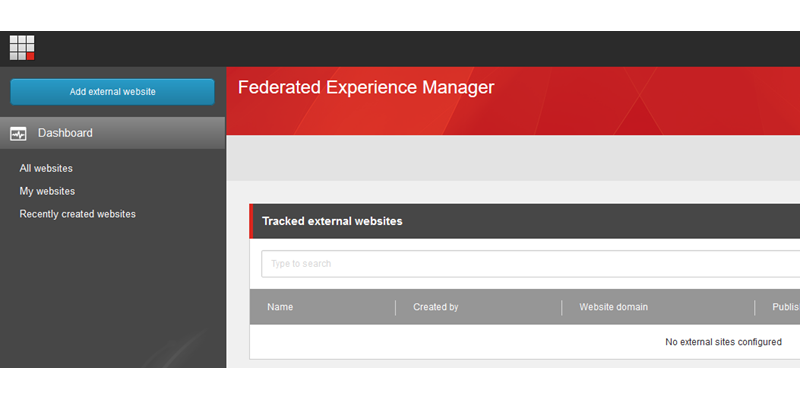
- From the Sitecore Launch Pad, click on the Federated Experience Manager icon.
- Next, click on the Add External Site option from within the FXM.
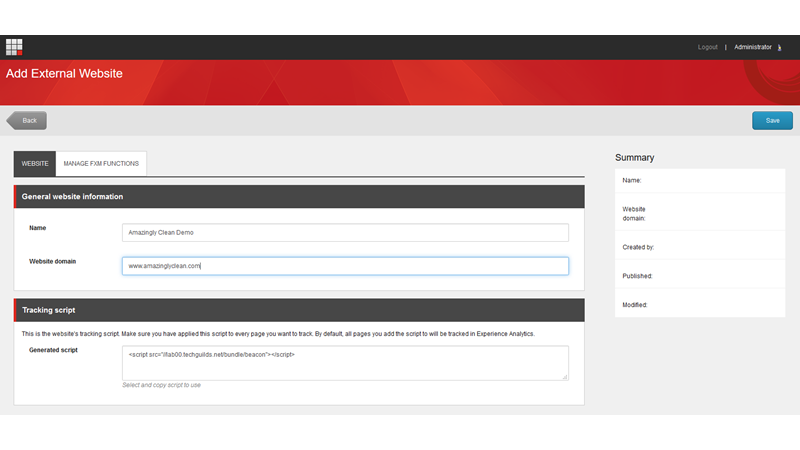
- Specify the details of the external site and click Save.
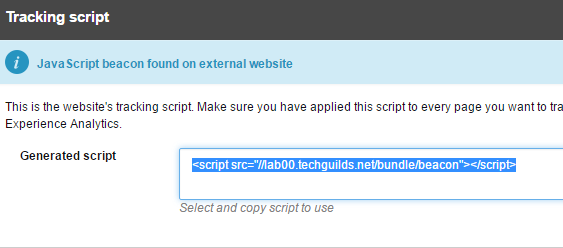
- Copy the JavaScript tracking code (beacon) provided by Sitecore and place it onto the website page or pages you want to track. This creates the “hook” into Sitecore.
Allow Cross-browser Scripting and Publish
To prevent cross-browser scripting issues and errors, we need to set up a Rule that permits the scripting to run. The last step is to publish our Sitecore FXM Beacon.
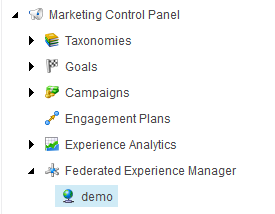
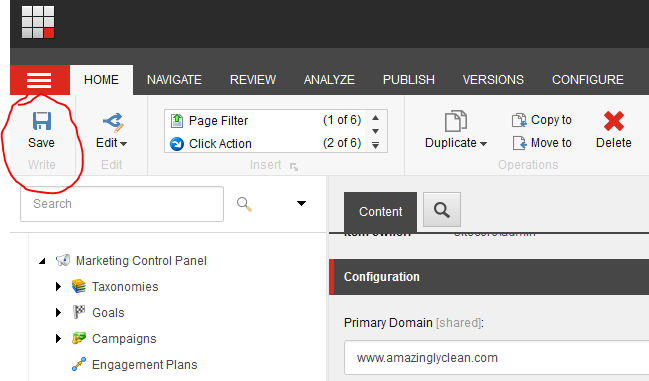
- Return to the Sitecore Launch Pad and launch the Marketing Control Panel.
- Navigate to and expand the Federated Experience Manager item and select the external website (beacon) item you created (demo in our screenshot example).
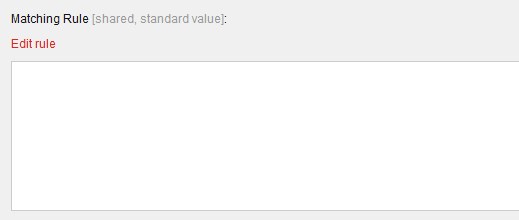
- In the Content area, click on the Edit Rule link found in the Matching Rule section of the item. This will open the Rule Set Editor.
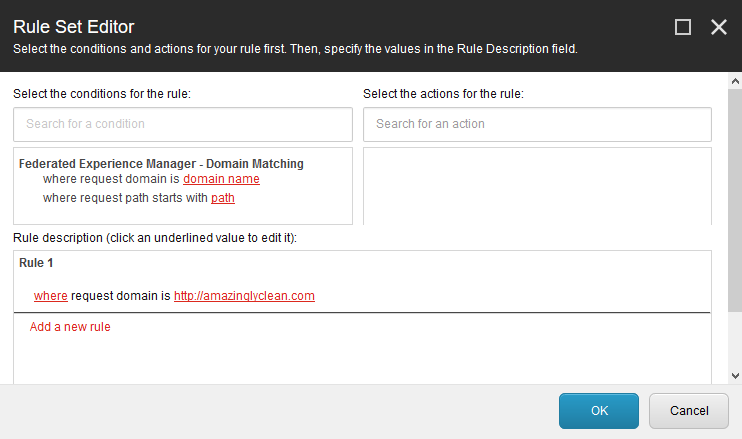
- In the Rule Set Editor, choose the "where request domains is..." and enter the domain name to the external, non-Sitecore asset.
- Click OK to close the Rule Set Editor and then click Save to keep your changes to the FXM "beacon" item.
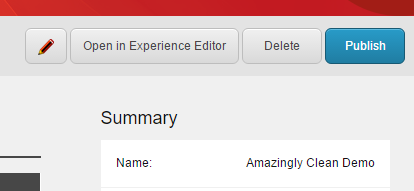
- Return to the FXM, click on the name of the item and in the top-right corner click the Publish button.
That's it! You're all done!
In my next post I will write a tutorial on tracking clicks and implementing personalization on an external site using the FXM. In the meantime, experiment on your own and post a comment or question that you would like answered.
Until next time...