In the last post of this Productivity Tips for Sitecore Content Authors and Marketers series, I shared some tips on maintaining a lean Media Library and talked about managing archived items.
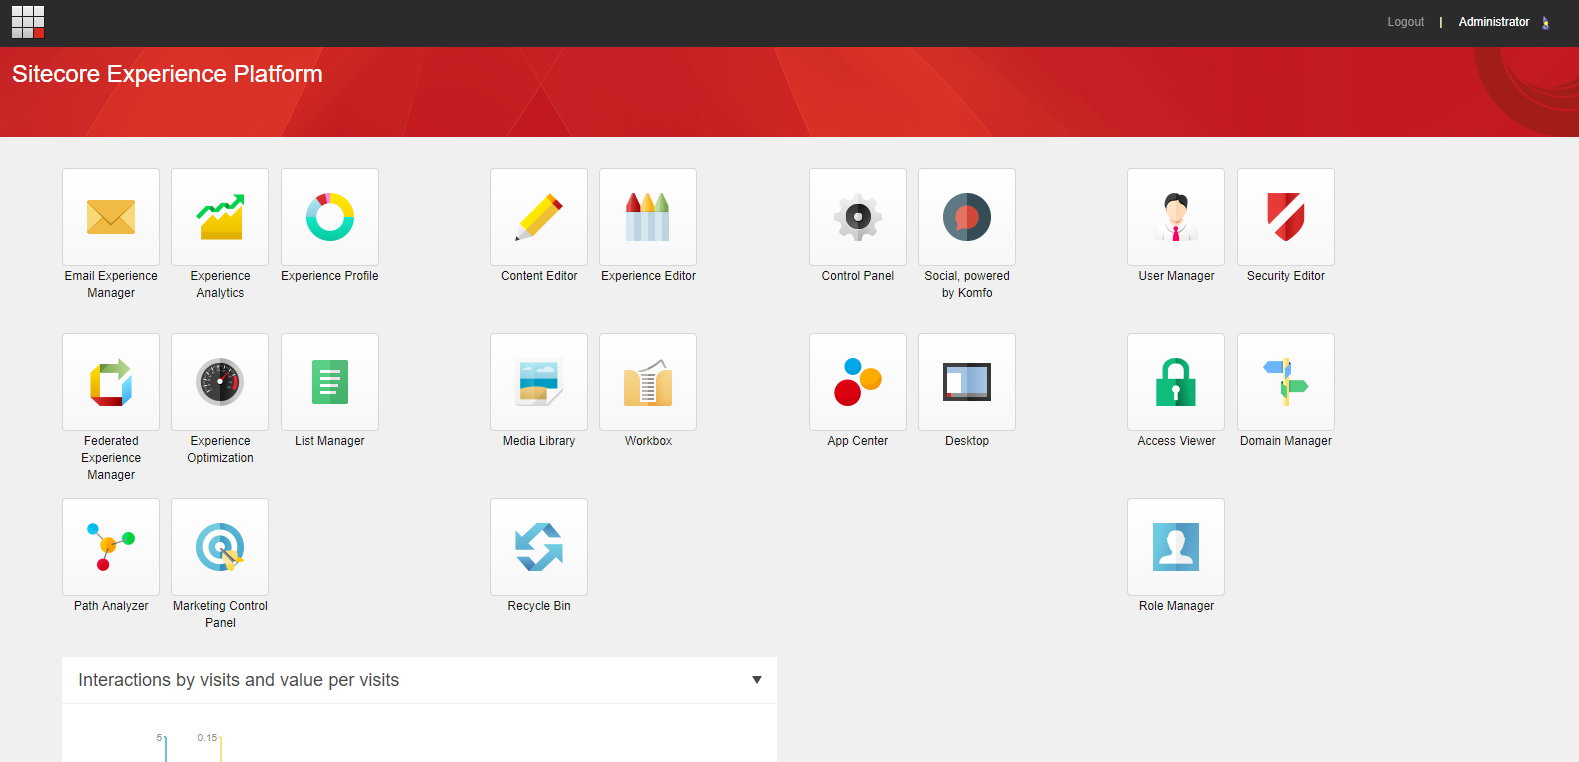
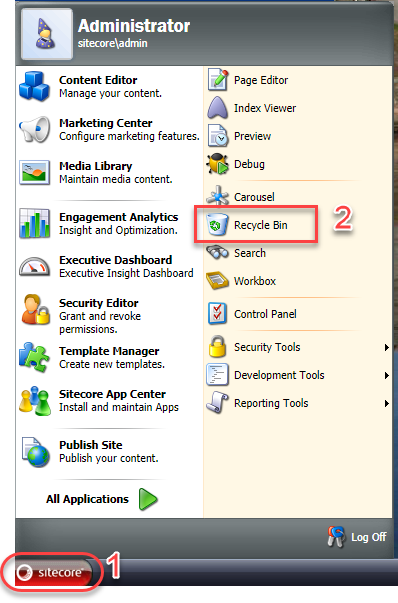
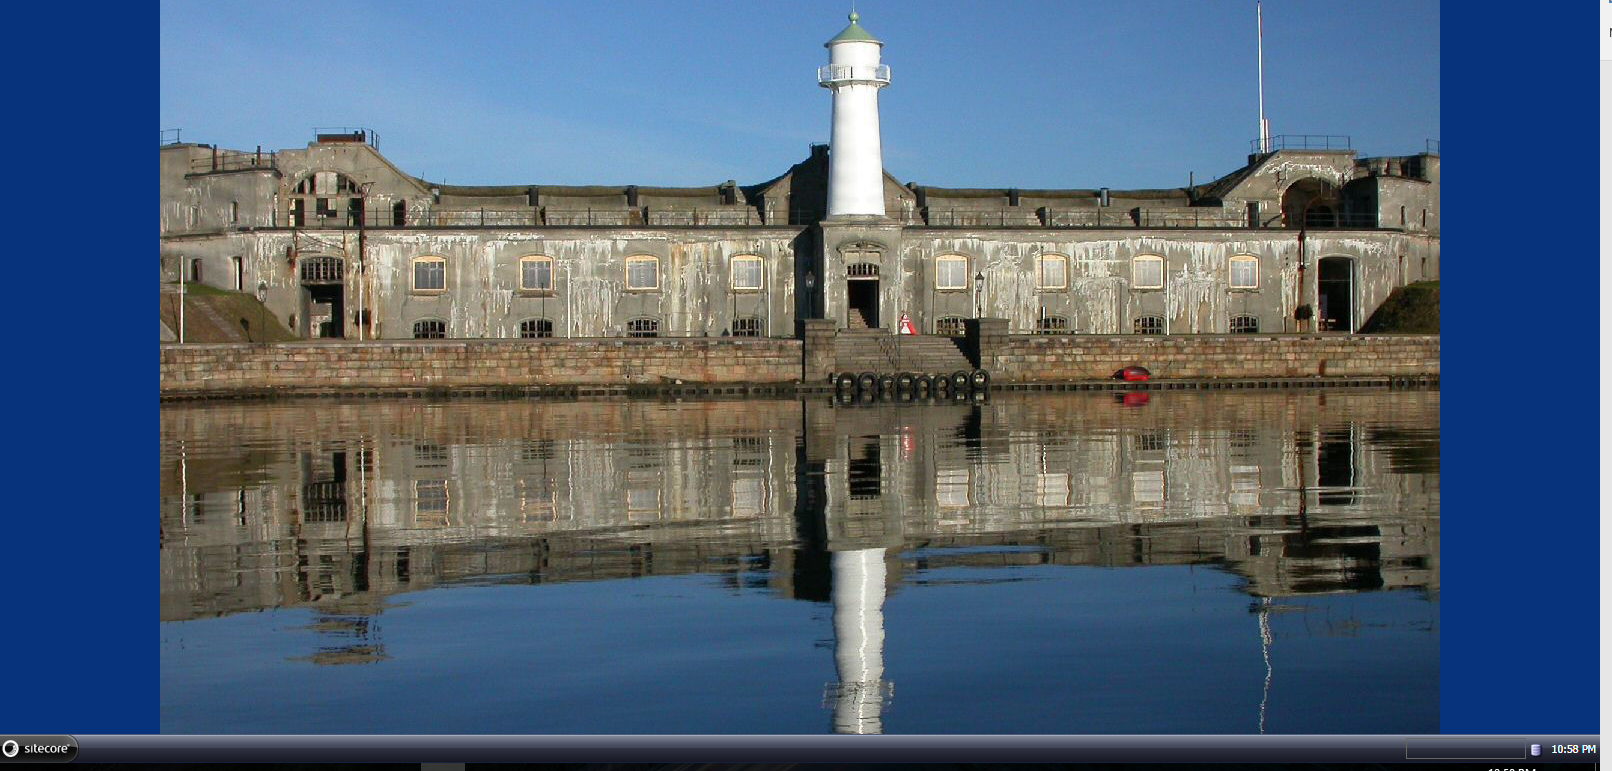
In this post, I discuss another hidden gem of the Sitecore Experience Platform called the “Recycle Bin”. I say hidden because before Sitecore created the launch pad icons (see Figure 1.0), the Recycle Bin was found within the Sitecore Start Menu (see Figure 1.1), which was accessible only from the Sitecore Desktop view (see Figure 1.2).
In fact, in my many years of using, supporting and teaching Sitecore, very few people knew about the Sitecore Recycle Bin and I would often get calls like this:
“Help! I deleted a page/item accidentally! Is there a way to get it back?”
Thankfully, Sitecore had the forethought to build the Recycle Bin, and I was able to say, “No problem. Let’s check the Sitecore Recycle Bin” to which they would reply, “the what?”
Figure 1.0 – Sitecore Launch Pad
Figure 1.1 – Sitecore Start Menu
Figure 1.2 – Sitecore Desktop
The remainder of this post will reference and demonstrate the use of the Recycle Bin from the newer versions of Sitecore using the Launch Pad. However, once the Recycle Bin application is launched, the functionality and options will be the same with only differences in appearance.
How to Recover an Item
- Log into the Sitecore Launch Pad and click the Recycle Bin icon.
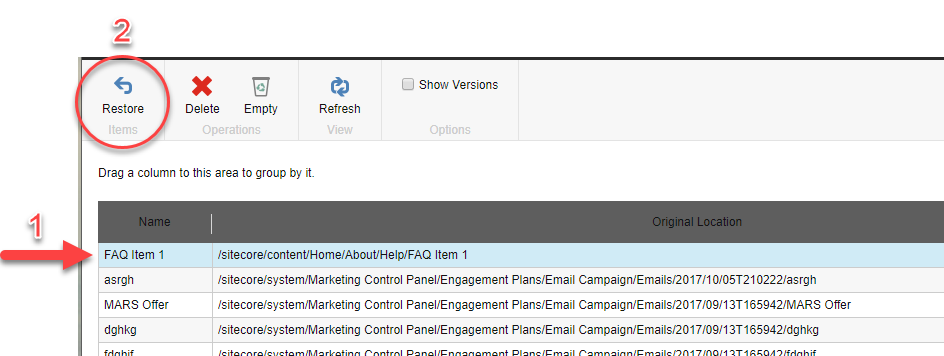
- In the Recycle Bin dialog box, you will see the following options/actions:
- Below the action icons is a list of items that have been deleted from the content tree along with a Search box to the right.
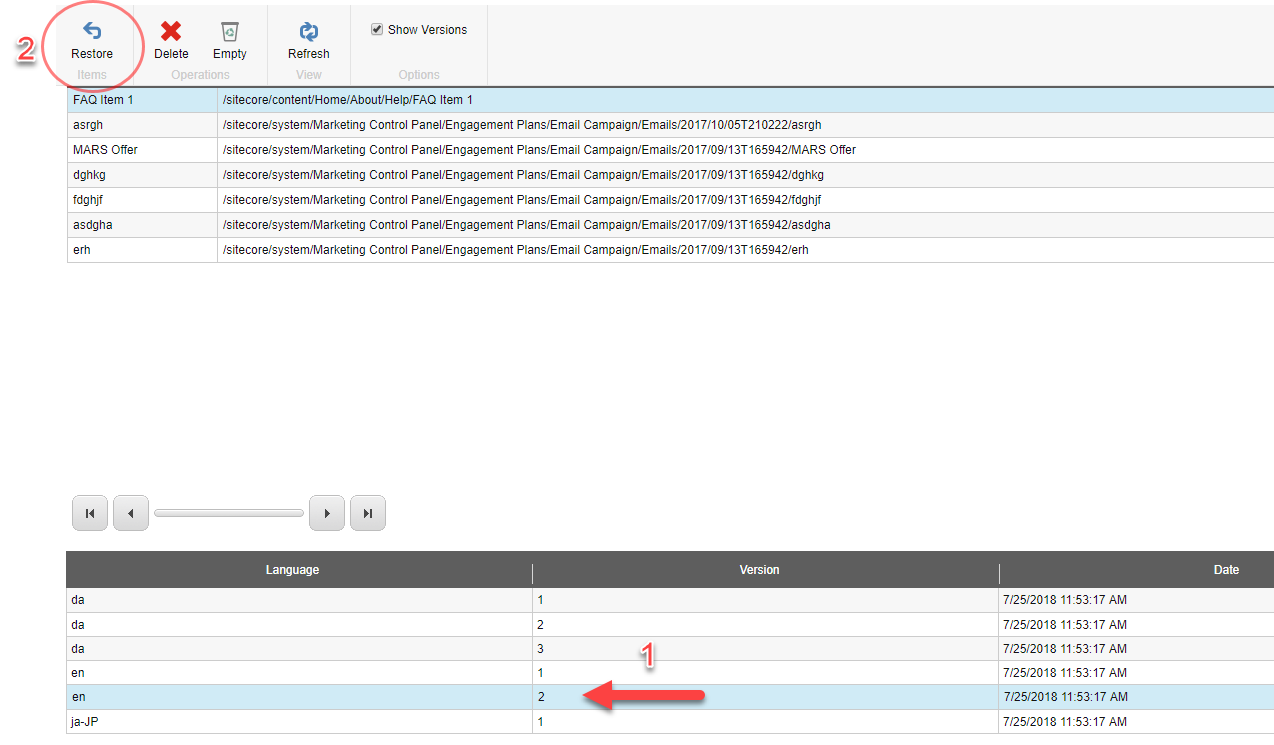
- Locate and select the item you want to restore to it’s original location in the Sitecore Tree and click the Restore button.
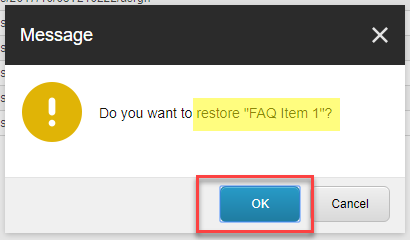
- Click OK when prompted to confirm the restoration of the item you selected.
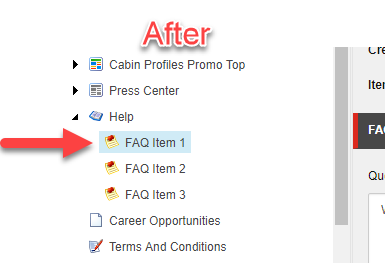
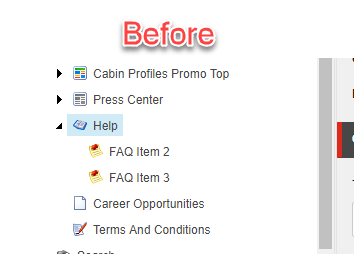
Your item should now be restored to its original location.
Restoring a Specific Version
Sometimes you don’t want to restore an entire item which can have many unneeded versions and slow down your Sitecore tree. In this case, you can just restore a single specific version of the item. Here is how:
- Open the Recycle Bin.
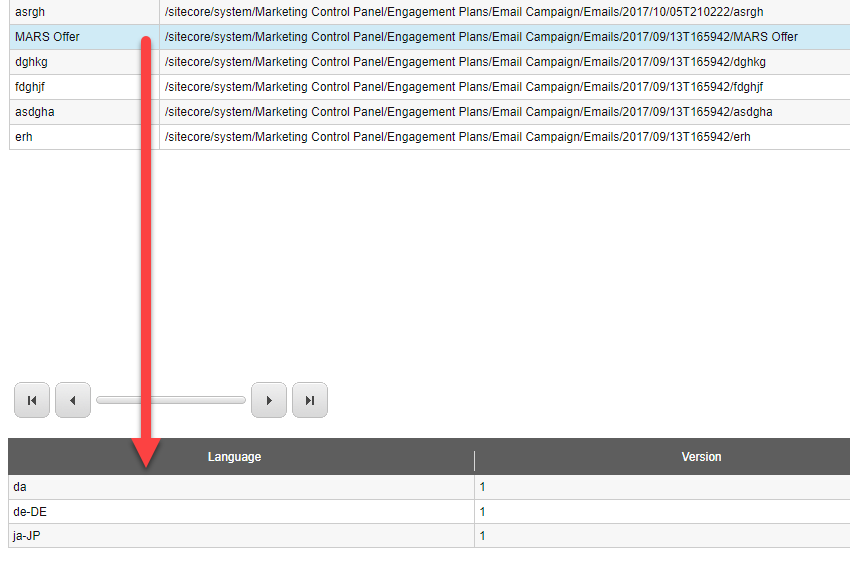
- Ensure the Show Versions check box is selected.
This will display all the deleted versions of the selected item at the bottom half of the screen.
- Next, from the list of versions, select the version that you want to restore and click Restore.
- This time you will be asked to confirm the restoration of the “version” of the item. Click OK.
Notes:
- The main item (FAQ Item 1 in our case) still shows up in the Recycle Bin, but the selected version is no longer in the version list because it has been restored.
- Back in the Content Editor the item will show the version that has been restored (English #2 in our case).
- You can subsequently restore the entire item and all versions will show in the Content Editor without replacing the version(s) previously restored.
Permanently Deleting Items
Use this option with great caution. As the title suggests, there is no turning back or easy way to recover items once they’ve been permanently deleted.
Once permanently removed, your only recourse is to restore a backup of your database which can have other implications; especially if work has continued and new content has been created after the items were deleted.
To permanently delete an individual item:
- Select the item that you want to delete and click the Delete option in the menu bar.
You can also empty the entire Recycle Bin.
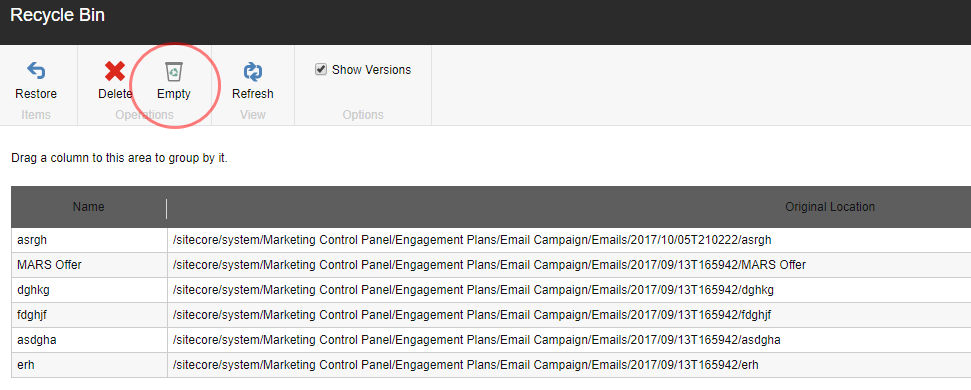
- Simply click the Empty option in the menu bar.
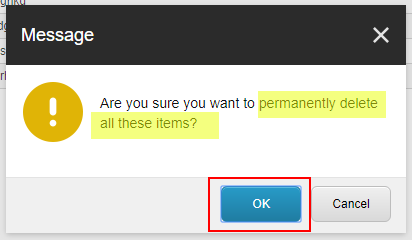
- Click OK to confirm the removal of all the items in the Recycle Bin.
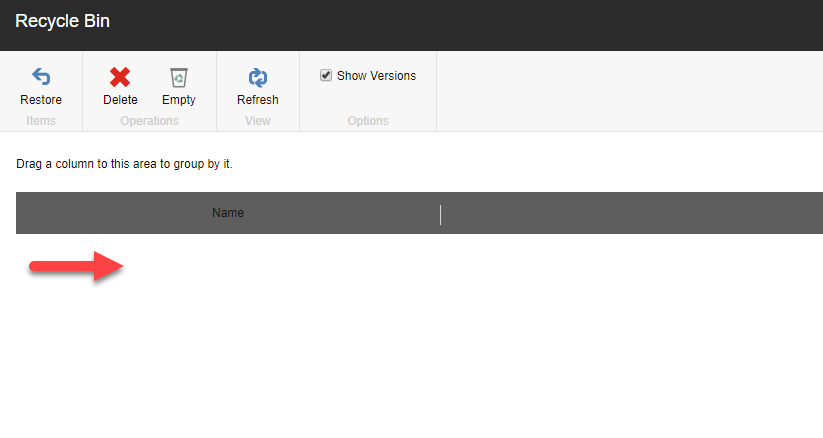
- The Recycle Bin should now be empty.

